Milk and Cookies

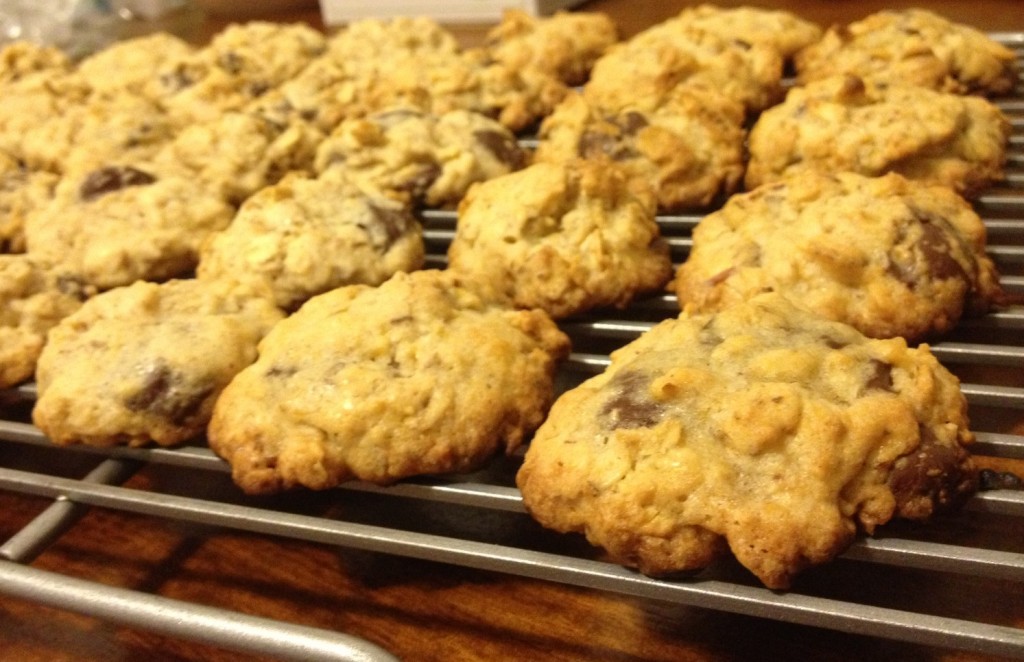
I started making lactation cookies for Megan about 8 months ago. She’d returned from a Mommy-Meet-Up with a few of her fellow December Moms, and had been raving about how delicious they were. She’d tried to save one for me to sample, but ended up eating it … “for Niko, afterall…” Ever a fan of homemade cookies (really, though, who isn’t…), and looking for ways to contribute to feeding Niko early on, I set out to recreate the cookies she’d swore were good enough to eat by the plateful.

Lactation Cookies
(adapted from recipe at Epicurious.com)

Ingredients
– 1 cup butter
– 1 cup sugar
– 1 cup brown sugar
– 4 tablespoons water
– 2 tablespoons flaxseed meal (no substitutions)
– 2 Lg eggs
– 1 teaspoon vanilla
– 2 cups flour
– 1 teaspoon baking soda
– 1 teaspoon salt
– 1 tablespoon unsweetened shredded coconut
– 3 cups thick cut oats
– 1 cup chocolate chips
– 1/4 cup sliced almonds
– 2 tablespoons brewer’s yeast (no substitutions)

Yield: depending on your desired cookie size, can make 10 – 12 dozen cookies

Preparation Instructions
Preheat the oven to 375 degrees. Mix the flaxseed meal and water, set aside 3-5 minutes. In a stand mixer, cream the butter and sugar,
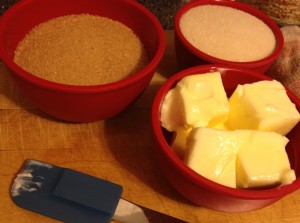
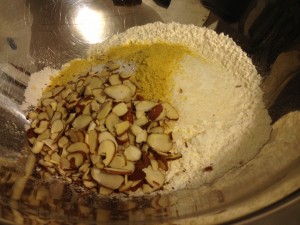
then add the eggs one at a time until blended. Stir the flaxseed meal mixture into butter, eggs and sugar, and then add the vanilla. Mix until well blended. In a large bowl, sift together the dry ingredients, except the oats and chocolate chips.

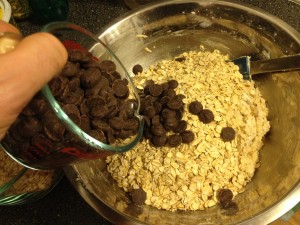
Stir the butter mixture into the dry ingredients, and then add in the oats and  the chocolate chips.

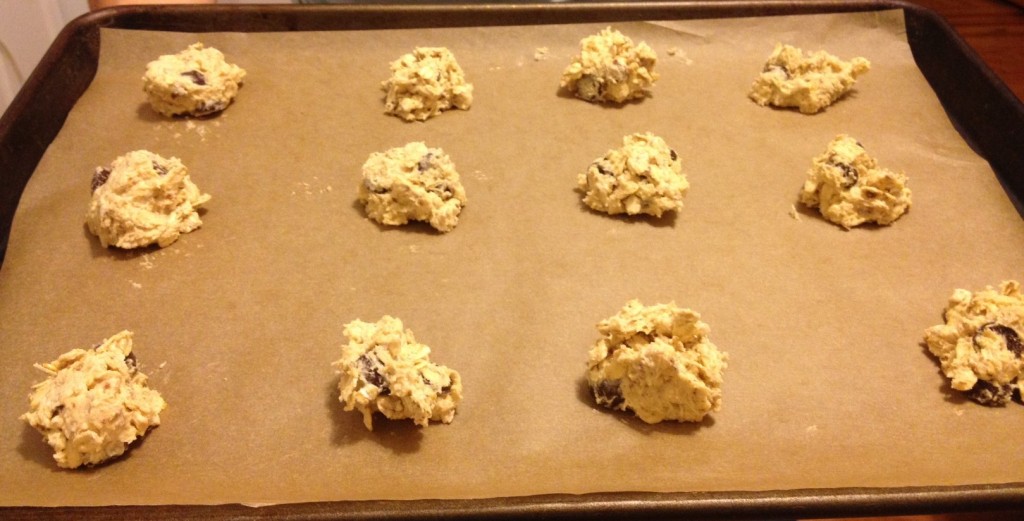
Spoon the cookie dough onto parchment paper-lined baking sheets (unless you’re okay with cookies that taste like roasted carrots). Bake 8-12 minutes.

A note on sugars: Though it costs more, we exclusively use natural or “raw” cane sugars like turbinado, muscovado or Demerara when a recipe calls for brown sugar. According to Heidi Swanson in her book, Super Natural Cooking, commercial brown sugar used to be a semi-refined version of white sugar, and therefore viewed as a more healthy sweetener. However, now-a-days, brown sugar is simply refined white sugar that has molasses added back to add some color. Perhaps it’s all in my head, but I prefer the rich, deep flavors of natural sugar to refined. Refined white sugar, while undeniably sweet, lacks dimension. In terms of “white” sugar, we use Florida Crystals.

Cooking Up Some Mean Bean Curd

Over the holidays, when the rest of us were eating amazing rosemary-roasted pork loin (recipe to come), Megan and Niko got down with some tofu and portobello mushrooms that I sauteed in olive oil and balsamic vinegar. While he didn’t care for the mushrooms (perhaps it was texture), Niko couldn’t get enough of the crispy, chewy tofu. It was all Megan could do to keep up with demand (she was biting each piece in half to make it more baby bite-sized–and he was waiting open-mouthed like a baby bird…).

Some of Niko’s pals’ parents had previously reported to us their success with getting their kiddos to eat raw tofu. But since Megan and I are not in the habit of eating raw tofu, and Niko’s recently developed fondness for fried bean curd, we thought it best to get him used to eating it in styles frequently found on our table.

Here are two Niko-tested/Niko-approved preparations:

CINNAMON-GINGER TOFU
In this recipe, the effort is in the seasoning. When I first prepared this dish for Niko, I gave a seasoned (uncooked) piece to him for tasting. His initial reaction was to screw up his face and spit it into my hand. But on second consideration (after I stuck the same piece immediately back into his mouth), he greedily ate two more pieces. Success! Now the question: To fry or not to fry? Definitely fry: The tofu will have a longer fridge-life if it’s cooked.

Ingredients:
– 16-ounce block extra firm tofu (drained, “cubed”)*
– 3 tablespoons Bragg Liquid Amino**
– 1/4 teaspoon ground ginger powder
– 1/8 teaspoon cinnamon
– dash of garlic powder
– 1 tablespoon canola (safflower or grape seed) oil for cooking

Yield: about 4 servings (estimating 8 – 10 pieces per serving)

Cut the tofu widthwise into 8 half-inch slabs. Wrap the tofu slabs in clean linen dish towels for an hour to drain out at much of the water as possible. In a small bowl, mix the Bragg’s Amino Acid, ground cinnamon, ground ginger powder, and a dash of garlic powder. Once the tofu is drained, cut each slab into 1-inch by 1-inch by .5-inch “cubes,” place the cubes in a medium bowl, and toss them with the marinade until covered. Set the tofu aside to marinate for about an hour (I played with Niko in the other room).*** When ready to cook, warm the saute pan on medium-high heat. Add oil, then transfer the marinated tofu into hot oiled pan, and saute to preferred texture (I cooked it for about 15 minutes). Serve warm or at room temperature.

*We prefer Wildwood Organic Sprouted Tofu for the increased health benefit and denser texture, though we frequently use House Foods Organic Tofu because it’s less expensive.
**I’m a salt-lover, and actually prefer San-J gluten-free tamari for its robust umami flavor. However, it has an incredibly high sodium content, and I don’t want to inadvertently damage Niko’s developing kidneys. Bragg Liquid Aminos, on the other hand, has a very low sodium content, while still delivering a hefty punch of flavor.

LEMON-THYME TOFU
In this preparation, the fresh lemon juice takes the lead followed by a subtle thyme and black pepper finish. I love the heat of freshly cracked pepper, and use it regularly in other recipes for Niko. …but when a few overly-peppered bites from prior meals had Niko fussing, not wanting to turn him off to this great spice, I’ve since toned it down (in his food only).

Ingredients:
– 16-ounce block extra firm tofu (drained, “cubed”)
– 2 tablespoons fresh lemon juice (one small lemon)
– olive oil to coat (2 tablespoons)
– 1/2 tablespoon freshly chopped thyme
– light covering of finely ground black pepper

Yield: about 4 servings (estimating 8 – 10 pieces per serving)

Cut the tofu widthwise into 8 half-inch slabs. Wrap the tofu slabs in clean linen dish towels for an hour to drain out at much of the water as possible. Once the tofu is drained, cut each slab into 1-inch by 1-inch by .5-inch “cubes,” and place the cubes in a medium bowl. Squeeze the lemon juice over the cubes. Add the thyme and black pepper, and stir to coat. Set the tofu aside to marinate for about an hour (more play time!).*** When ready to cook, warm the saute pan on medium-high heat. Add oil, then transfer the marinated tofu into hot oiled pan, and saute to preferred texture (I cooked it for about 15 minutes). Serve warm or at room temperature.

***If you’d like to prepare the tofu ahead of time, let it marinate overnight in the refrigerator where it will develop a stronger flavor, and be ready for frying when you come home from work.

The Other Big One!

Given all of his December birthday buddies and the proximity of the holidays, we didn’t throw a party for Niko until the end of December (thankfully, we were still able to celebrate him in 2012!). First birthdays, as it turns out, are more for the grown ups than the little kids. In fact, it becomes an excuse to have an extended brunch cocktail party in the middle of the day with crawlers and toddlers underfoot–chewing up Nibbly Fingers, mouthing any toy that happens to be at hand, and tugging on any pant leg for a lift up for a better perspective on things.

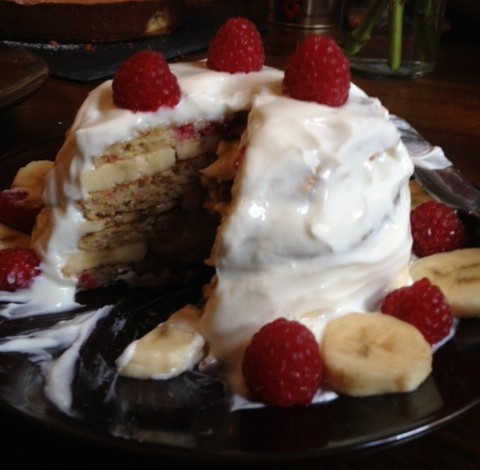
Inspired by Niko’s friend Shiohn’s birthday cake (whose parents are also restricting sugary baked goods), and to accommodate some of his pals’ food allergies, Niko’s birthday cake was composed of five vegan, gluten and sugar-free, lemon, raspberry, cornmeal pancakes stacked with round banana slices between each layer. I’d set one pancake aside for Jonah, who has a dairy allergy, before icing the “cake” with vanilla Greek yogurt.


Lemon Raspberry Cornmeal  Pancakes
(adapted from The Pioneer Woman)

1-1/2 cup (scant) Bob’s Red Mill Gluten Free All Purpose Baking Flour

1-1/2 cup heaping yellow cornmeal

1/2 teaspoon salt

3 tablespoons baking powder

2-1/4 cups oat milk

3 teaspoons vanilla
3 teaspoons egg replacer + 4 tablespoons warm water (mixed until thick)

2 tablespoons organic, unrefined coconut oil, melted
1/2 cup raspberries
2 medium bananas peeled and sliced into 1/4-inch rounds
lemon and juice from one lemon
vanilla Greek yogurt for icing

Preparation Instructions

Mix together flour, cornmeal, salt, baking powder, and lemon zest in a bowl. Set aside.

In a separate bowl, mix oat milk, egg replacer, lemon juice, and vanilla. Pour into the dry ingredients. Gently stir in raspberries.

Stir in melted coconut oil. Set batter aside. If batter is overly thick, splash in a small amount of oat milk.

Heat 1 tablespoon canola oil in a skillet over medium-low heat. When heated, drop 1/4 cup batter per pancake and cook until golden brown on both sides. Remove from skillet and set aside.

Stack four pancakes, layering sliced bananas rounds between each pancake. Using an offset spatula, coat the pancake cake with vanilla Greek yogurt. Decorate cake and plate with any extra banana rounds and raspberries. Dig in!

A dumpling by any other name…

You say pierogi. I say varenyky.
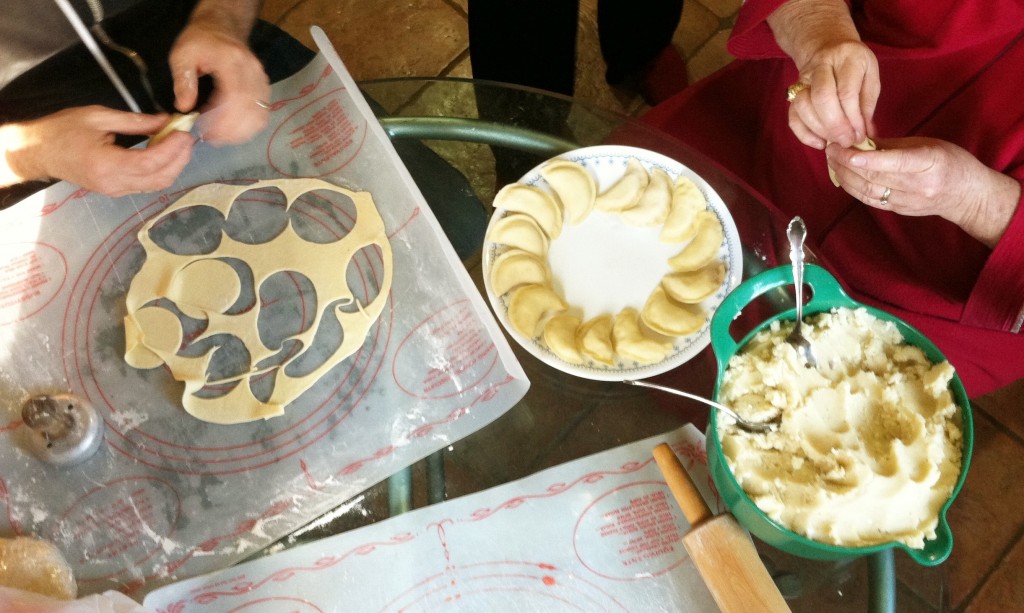
This year for the holidays, Megan, Niko and I traveled down to Arlington, VA to join her brother Franz and his wife Maria’s family for a traditional Ukrainian Christmas Eve feast.
In preparation for the 24 people who’d be feasting, Megan, Franz, Maria and I spent all day in the kitchen, making and rolling dough, boiling and mashing potatoes, sauteeing cabbage and onions, and stuffing and folding savory varenyky — all under the watchful eyes and expert hands of Maria’s mother.

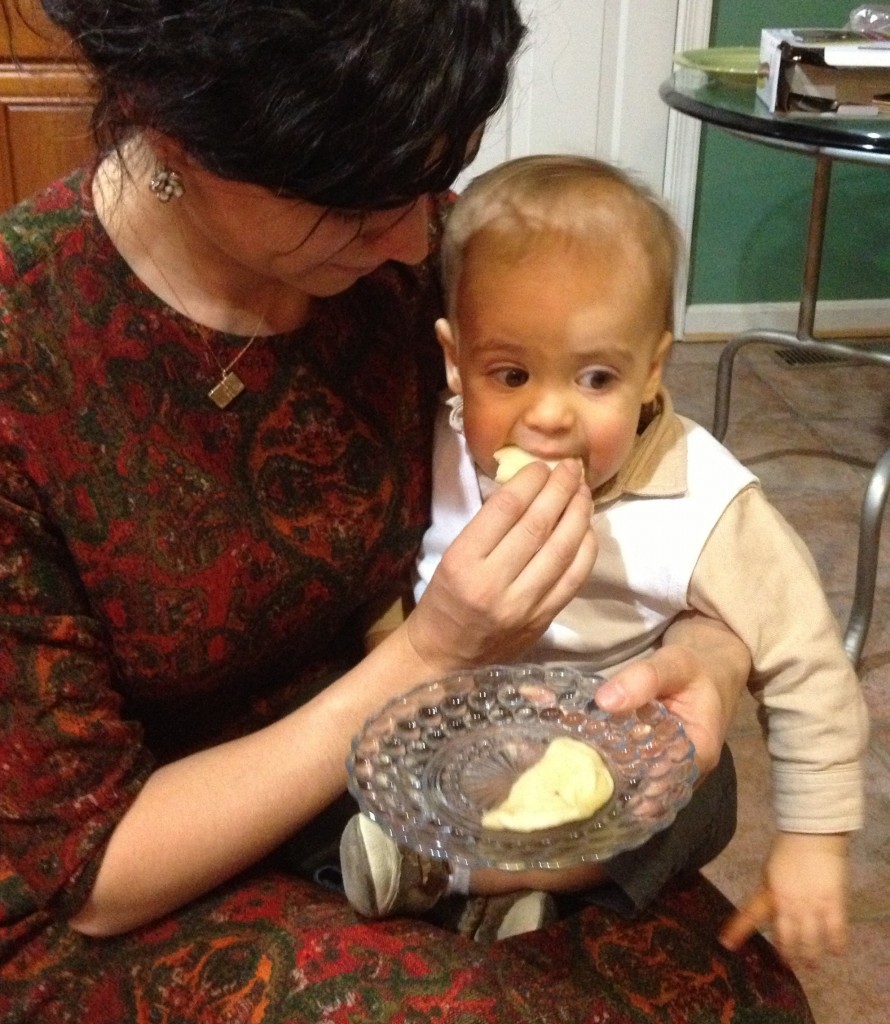
In total, we produced close to 200 of the dumplings. Crawling through our hive of industry, Niko passed from eager hand to eager hand, lap to lap, contenting himself on small balls of potato and cheese filling and punctuating Doris Day radio on Pandora with bursts of laughter and baby gurgles. In the end, he feasted as well as the rest of us, and the homemade pierogi that filled his belly furthered him on his journey of solids.


Breaking Bread

Road trip! At 8 months, we celebrated Niko’s first tooth by introducing him to some actual solids. I’m talking non-mashed, use-your-gums-and-ridiculous-amounts-of-saliva kind of solids. While visiting his Aunt Ariana in San Francisco, we fed him some delicious sourdough bread from Basque Boulangerie in Sonoma (we kept the wine for ourselves).

Auntie A made sure his bread-nomming technique was ship shape.

Since his first food was avocado, we thought he might be ready to try a black bean burrito with avocado in it. He seemed interested in Megan’s lunch from Papalote Mexican Grill, so we thought, why not! Turns out we were witness to the first of many burrito face-plants.

That said, he seems to have an equal affinity for eating his own shoes, so I won’t go thinking his tastes have become so refined…


Next dispatch, we’ll be reporting again from the East Coast!

Baby (Food) Makin’

When Megan and I sat down to figure out our baby registry, my parents smartly asked if we wanted to add a baby food maker to the list. My first thought was a resounding YES! I love to cook. There’s nothing more satisfying than the joy of preparing a meal for loved ones–especially preparing a meal that is both delicious and nutritious. However, we both responded, Nah, we already have a steamer and we already have have a blender and a food processor — not to mention, a limited amount of cabinet space in our small Brooklyn apartment. It just seemed to us like one of those inventions that didn’t really need to exist.

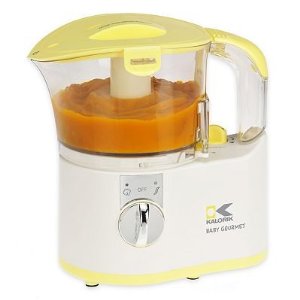
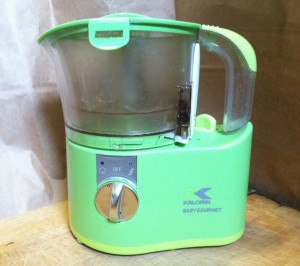
Thankfully, my sister knew better, and boldly went off-registry to get us the Kalorik Baby Gourmet 5 in 1 Baby Food Maker. It measures, it steams, it grinds, it mashes. In short, this is where the magic happens:

About 99% of the meals I make Niko are made with this compact machine. (We also have a hand mill that was handed down to us by one of Megan’s coworkers, and I have used the stove top steamer on occasion when I’m steaming a particularly large load of fruits and veggies.)

Why I love it:
Convenience — The measuring cup correlates water amount to steaming time, meaning the machine stops steaming when the water runs out, and I can do other things while the food steams without worrying about losing track of time.

Simplicity — There are only two settings to turn the dial: steam and grind.

Safe — the blade does not operate independently like with a blender. And the tank is made of BPA-free plastic.

Durability — This machine, though small, is a real work horse. I produce about a month’s worth of baby food each weekend (big baby = big appetite). I do worry about its longevity, since after only a few months of steady use,  the steaming basket is discolored and warped and there are some stress cracks in the food tank, but this machine is still running strong.

Why I don’t like it:
Clean-up — Food gets trapped in the steaming valve, which cannot be cleaned out. The steam obviously kills any bacteria, but it’s still gross to see.

Size — The food maker, honestly, is the right size for a few months only. One full batch is over 2 cups of food. This is fine for Niko now, through month 7, but as we head into month 8, and his appetite’s picking up (and he begins to rely more heavily on solids for nutrients), I anticipate him downing 3 cups of food a day. To keep up with his demand, and to over-produce, I know I’ll be bringing in my stove-top steamer and food processor to supplement the process. Without bringing in the big guns, I’d need to stand over this little machine all day long for 1 month’s worth of food.

The Storage System

I know I’m not the first person to freeze baby food. And I’m definitely not
the first person to use the following system, but I’ll share it again simply
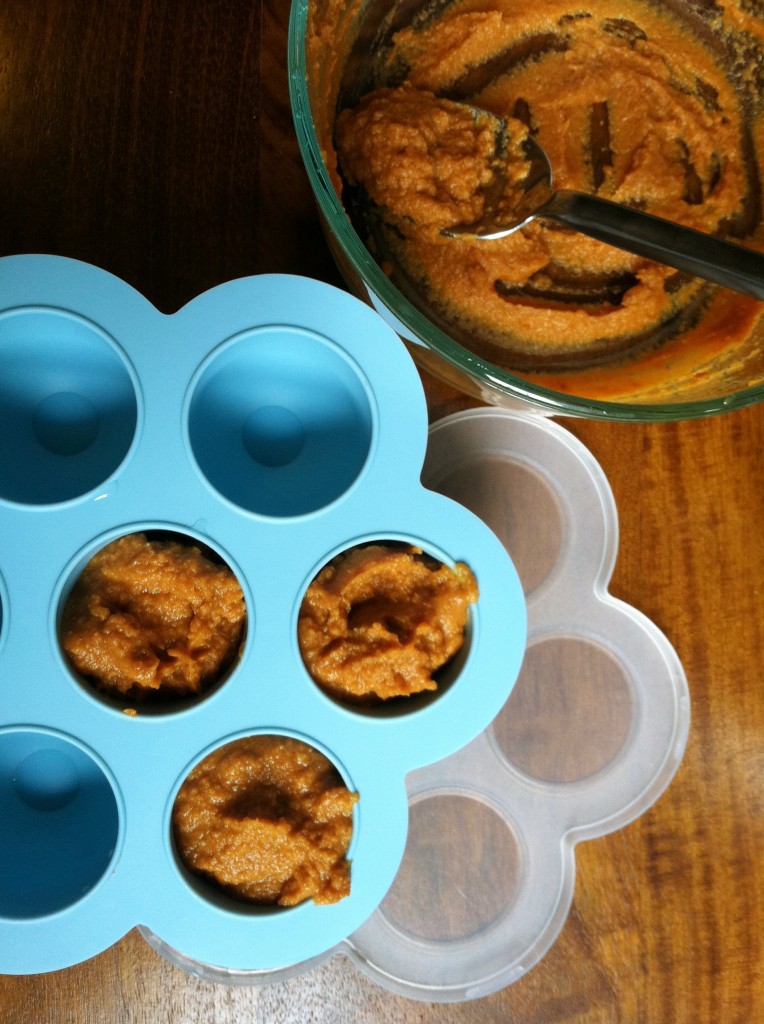
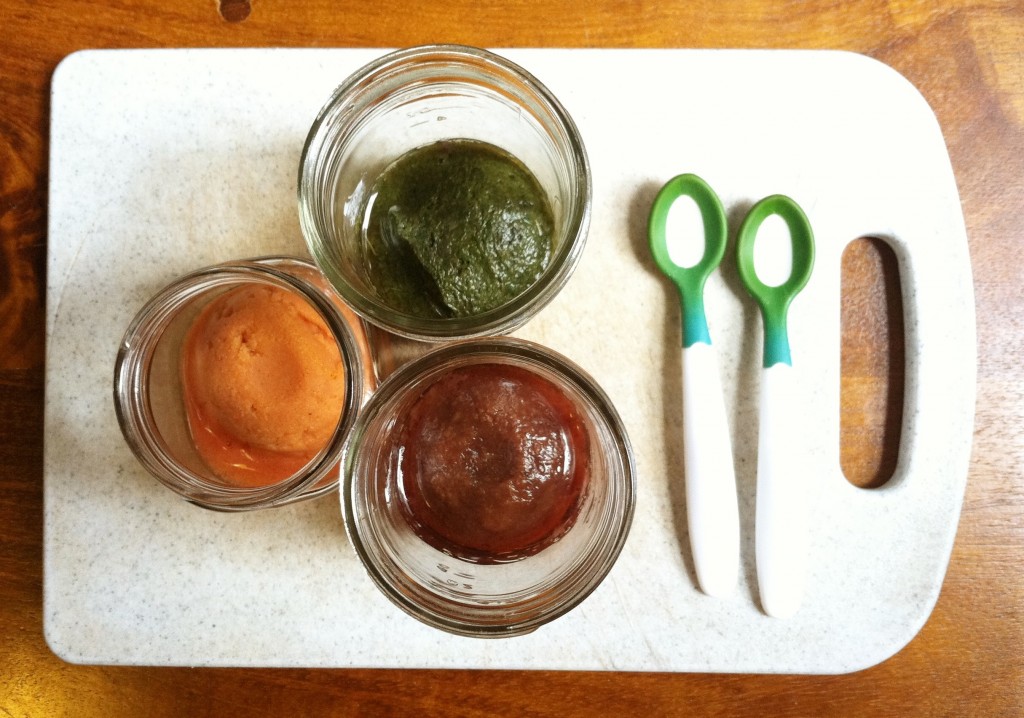
because it works: Blend it, portion it, and stick it in the freezer.

There are many brands of baby-food storage systems out on the
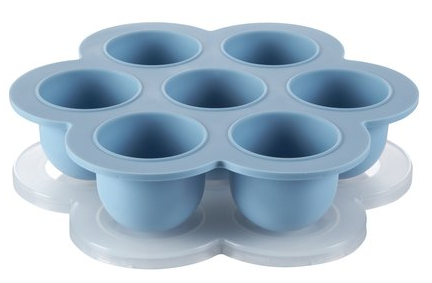
market. I happened upon the Beaba Multiportions silicone freezer
trays at a local baby store, and I really dig ’em. They remind me of
honeycombs, which further reminds me of: 1) how much l love to
eat honey, and 2) how I marvel at the perfect geometrical mastery
of nature’s tiny architects and engineers — the amazing honey bee!
But I digress…

The silicone material it’s made from makes this freezer tray flexible so
that the frozen baby food portions pop out easily.

Each pod holds 1/4 cup (2 oz) of food. There are 7 pods in the container
so you get about two cups, which is enough for one day for our
big boy at month 7.

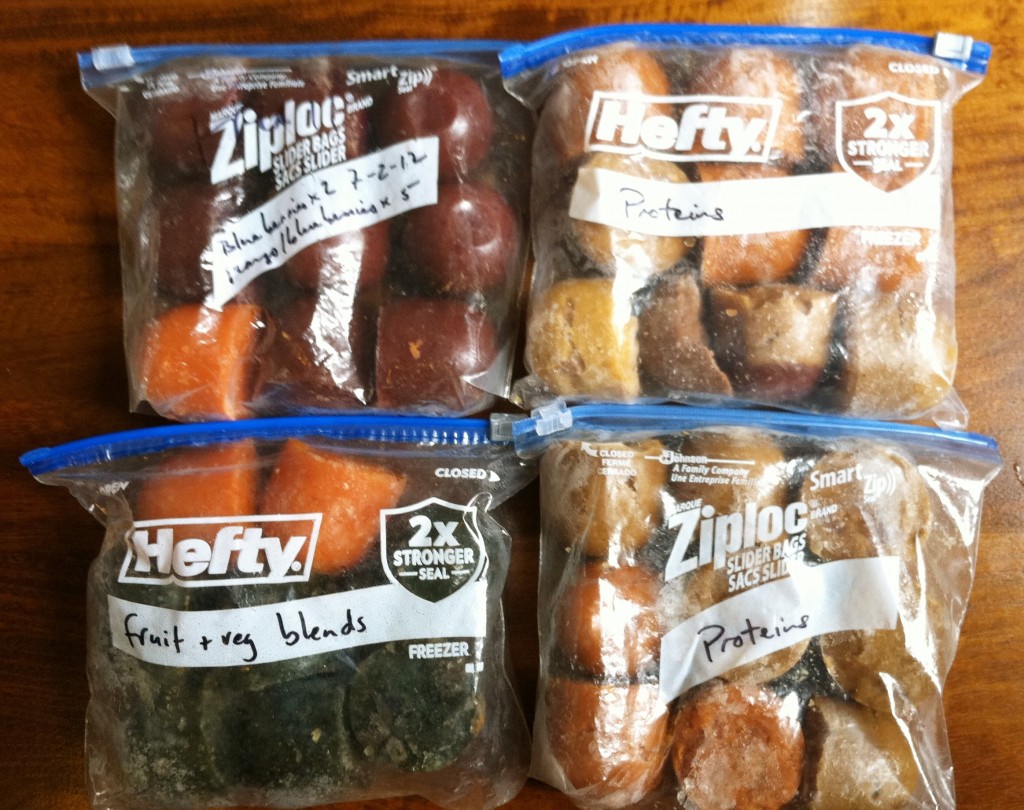
I have two trays, which I empty into zip-close freezer bags sorted by food
type (proteins, fruit and fruit blends, veggies and fruit/veggie blends).
Creating a stock enables me to combine a variety of foods so that Niko’s
meals throughout the day are well-balanced.

First Food

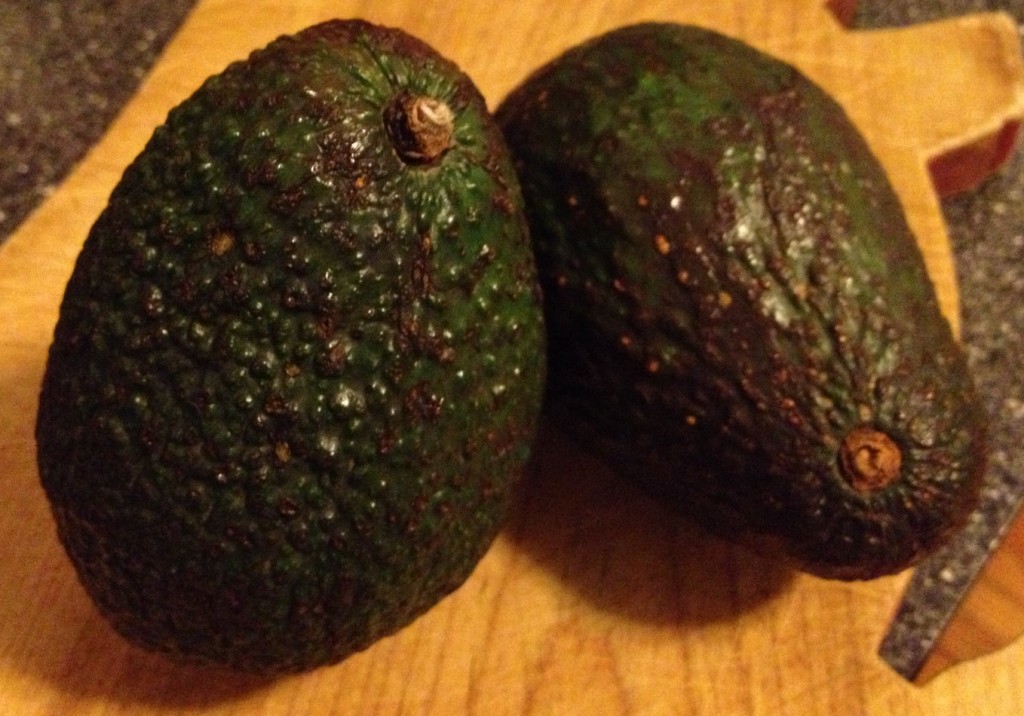
When we took Niko in for his 6-month check-up, his doctor asked what we were feeding him. When we explained that he was still eating breast milk, she exclaimed, “Feed that boy–he’s hungry!” For the record, our big boy was weighing in at 18.3lbs, the 65th percentile for his age. Certainly big, but at the six visits prior, he was consistently topping the scales–weighing in between 93rd and 96th percentile for his age. So we took him right home and prepared his first “solid” meal, avocado mashed with a bit of breast milk. We used the breast milk for two purposes: to add a familiar flavor to this first meal, and to create a soft enough consistency for our toothless wonder. He loved it! His eyes lit up and he grunted with delight at every bite. We opted to avoid rice cereal (still haven’t fed him any), despite tradition, because, well, it’s boring. With so many rich and bold flavors in this world, why eat fortified rice puree?

Welcome to Food By Dad

Welcome to the cooking chronicles of a new dad: I’ve always loved cooking — it’s the way that I unwind at the end of a long day at work (I’m a career educator in the New York City public school system), the way I express myself creatively, satisfy hungers, and…it’s fun. I turn up The Raconteurs (or World/Inferno Friendship Society, The Clash, The Drive-By Truckers, or…) on my record player, pull my Japanese knives from the wall, measure out ingredients like I’m on my own cooking show, and salt generously. Until December 2011, when my son, Nikolai was born, the premier audience member and taster on my private cooking show has been my lovely wife, Megan (and occasionally our cat, Tulu, when some delicious splatters end up on the floor). The nine months prior to Niko’s entry into the world, my focus had been on making food to nourish him on the inside — vitamin-rich, well-balanced meals for Megan to keep down (first trimester), big meals to keep up with her growing appetite (second trimester), and meals that could easily be broken into smaller more frequent meals when there wasn’t much room left for food in the belly (third trimester). The only restrictions I had were “Not too much garlic, honey, it’s weirdly giving me insomnia” and “More steamed greens, please!” — she really had pretty lame cravings as a pregnant lady, and wasn’t turned off by much, so I had a fairly clean slate. And I’m proud of the contribution I made to the healthy, sturdy, 10-pound baby that Megan delivered to us as an early Christmas present!