Milk and Cookies

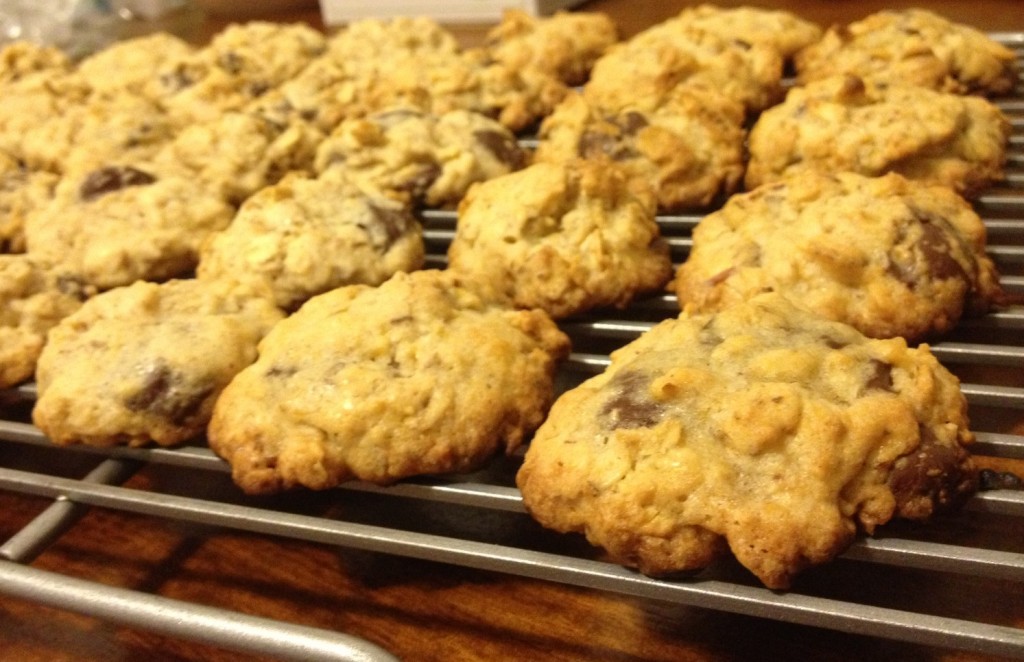
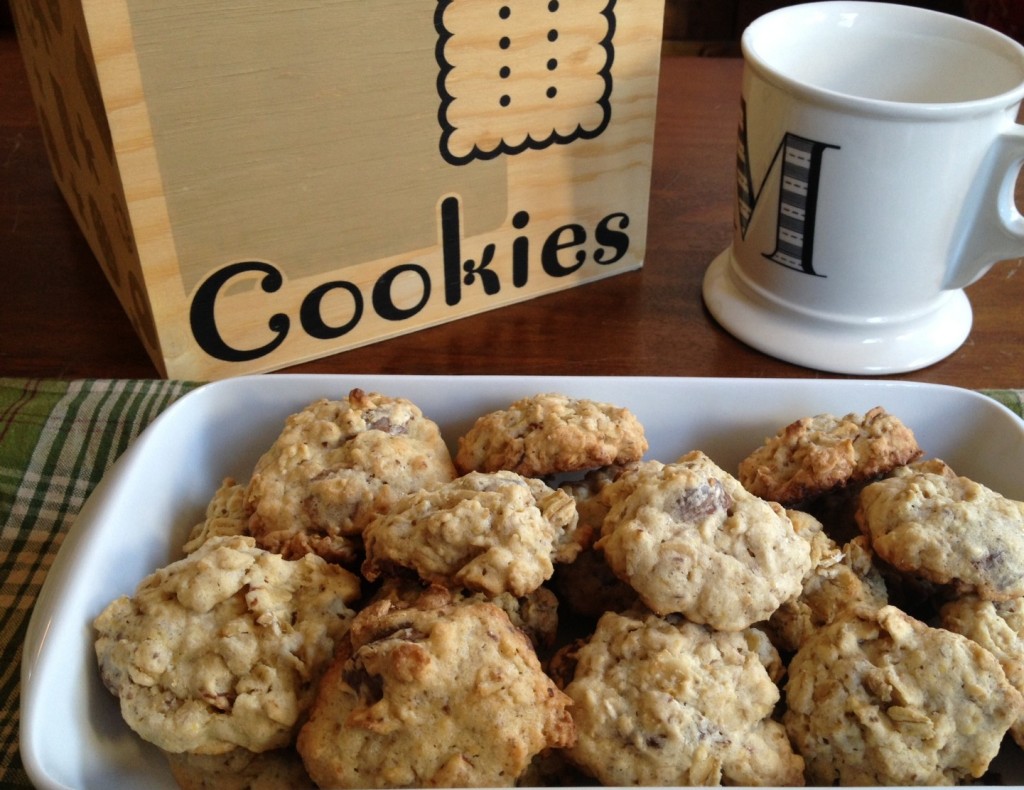
I started making lactation cookies for Megan about 8 months ago. She’d returned from a Mommy-Meet-Up with a few of her fellow December Moms, and had been raving about how delicious they were. She’d tried to save one for me to sample, but ended up eating it … “for Niko, afterall…” Ever a fan of homemade cookies (really, though, who isn’t…), and looking for ways to contribute to feeding Niko early on, I set out to recreate the cookies she’d swore were good enough to eat by the plateful.

Lactation Cookies
(adapted from recipe at Epicurious.com)

Ingredients
– 1 cup butter
– 1 cup sugar
– 1 cup brown sugar
– 4 tablespoons water
– 2 tablespoons flaxseed meal (no substitutions)
– 2 Lg eggs
– 1 teaspoon vanilla
– 2 cups flour
– 1 teaspoon baking soda
– 1 teaspoon salt
– 1 tablespoon unsweetened shredded coconut
– 3 cups thick cut oats
– 1 cup chocolate chips
– 1/4 cup sliced almonds
– 2 tablespoons brewer’s yeast (no substitutions)

Yield: depending on your desired cookie size, can make 10 – 12 dozen cookies

Preparation Instructions
Preheat the oven to 375 degrees. Mix the flaxseed meal and water, set aside 3-5 minutes. In a stand mixer, cream the butter and sugar,
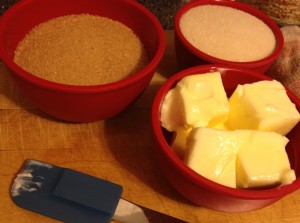
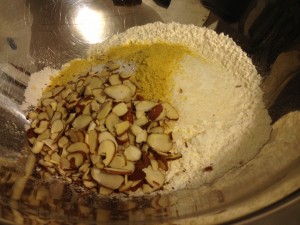
then add the eggs one at a time until blended. Stir the flaxseed meal mixture into butter, eggs and sugar, and then add the vanilla. Mix until well blended. In a large bowl, sift together the dry ingredients, except the oats and chocolate chips.

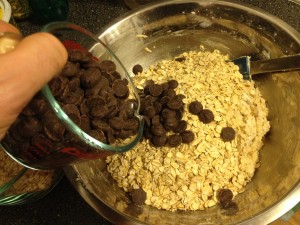
Stir the butter mixture into the dry ingredients, and then add in the oats and  the chocolate chips.

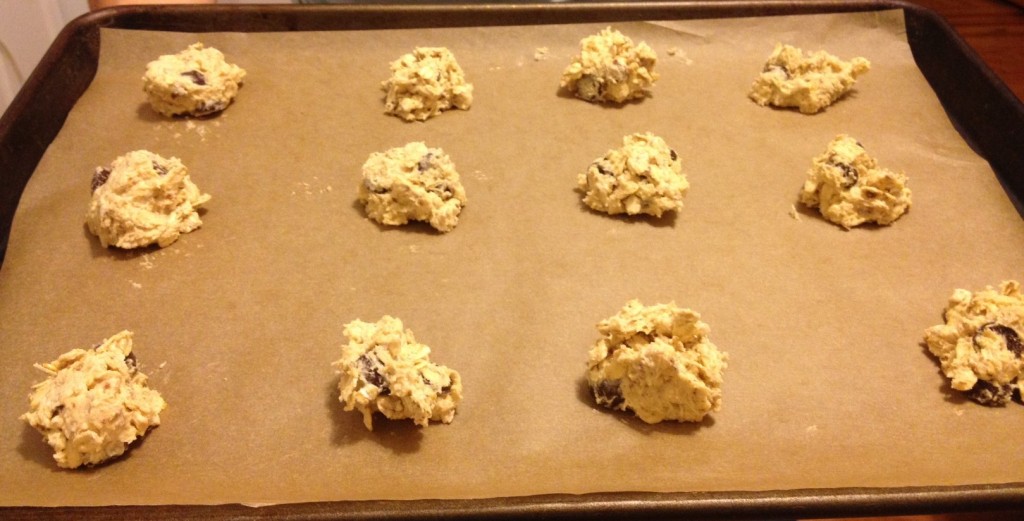
Spoon the cookie dough onto parchment paper-lined baking sheets (unless you’re okay with cookies that taste like roasted carrots). Bake 8-12 minutes.

A note on sugars: Though it costs more, we exclusively use natural or “raw” cane sugars like turbinado, muscovado or Demerara when a recipe calls for brown sugar. According to Heidi Swanson in her book, Super Natural Cooking, commercial brown sugar used to be a semi-refined version of white sugar, and therefore viewed as a more healthy sweetener. However, now-a-days, brown sugar is simply refined white sugar that has molasses added back to add some color. Perhaps it’s all in my head, but I prefer the rich, deep flavors of natural sugar to refined. Refined white sugar, while undeniably sweet, lacks dimension. In terms of “white” sugar, we use Florida Crystals.

The Other Big One!

Given all of his December birthday buddies and the proximity of the holidays, we didn’t throw a party for Niko until the end of December (thankfully, we were still able to celebrate him in 2012!). First birthdays, as it turns out, are more for the grown ups than the little kids. In fact, it becomes an excuse to have an extended brunch cocktail party in the middle of the day with crawlers and toddlers underfoot–chewing up Nibbly Fingers, mouthing any toy that happens to be at hand, and tugging on any pant leg for a lift up for a better perspective on things.

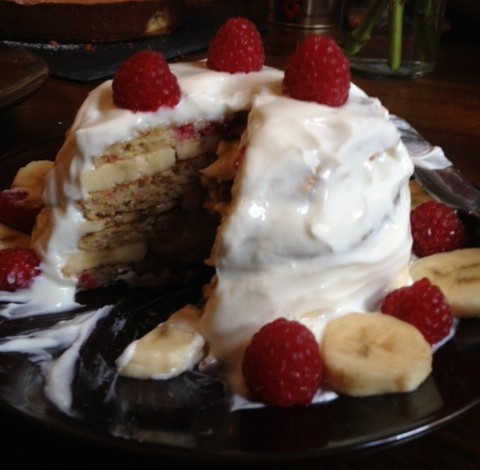
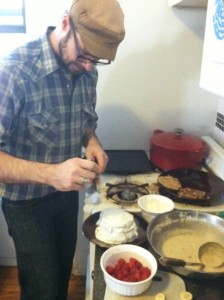
Inspired by Niko’s friend Shiohn’s birthday cake (whose parents are also restricting sugary baked goods), and to accommodate some of his pals’ food allergies, Niko’s birthday cake was composed of five vegan, gluten and sugar-free, lemon, raspberry, cornmeal pancakes stacked with round banana slices between each layer. I’d set one pancake aside for Jonah, who has a dairy allergy, before icing the “cake” with vanilla Greek yogurt.


Lemon Raspberry Cornmeal  Pancakes
(adapted from The Pioneer Woman)

1-1/2 cup (scant) Bob’s Red Mill Gluten Free All Purpose Baking Flour

1-1/2 cup heaping yellow cornmeal

1/2 teaspoon salt

3 tablespoons baking powder

2-1/4 cups oat milk

3 teaspoons vanilla
3 teaspoons egg replacer + 4 tablespoons warm water (mixed until thick)

2 tablespoons organic, unrefined coconut oil, melted
1/2 cup raspberries
2 medium bananas peeled and sliced into 1/4-inch rounds
lemon and juice from one lemon
vanilla Greek yogurt for icing

Preparation Instructions

Mix together flour, cornmeal, salt, baking powder, and lemon zest in a bowl. Set aside.

In a separate bowl, mix oat milk, egg replacer, lemon juice, and vanilla. Pour into the dry ingredients. Gently stir in raspberries.

Stir in melted coconut oil. Set batter aside. If batter is overly thick, splash in a small amount of oat milk.

Heat 1 tablespoon canola oil in a skillet over medium-low heat. When heated, drop 1/4 cup batter per pancake and cook until golden brown on both sides. Remove from skillet and set aside.

Stack four pancakes, layering sliced bananas rounds between each pancake. Using an offset spatula, coat the pancake cake with vanilla Greek yogurt. Decorate cake and plate with any extra banana rounds and raspberries. Dig in!

Baby (Food) Makin’

When Megan and I sat down to figure out our baby registry, my parents smartly asked if we wanted to add a baby food maker to the list. My first thought was a resounding YES! I love to cook. There’s nothing more satisfying than the joy of preparing a meal for loved ones–especially preparing a meal that is both delicious and nutritious. However, we both responded, Nah, we already have a steamer and we already have have a blender and a food processor — not to mention, a limited amount of cabinet space in our small Brooklyn apartment. It just seemed to us like one of those inventions that didn’t really need to exist.

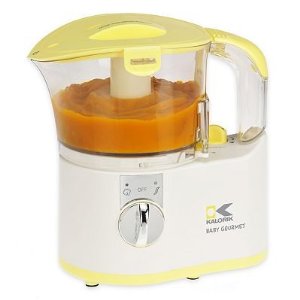
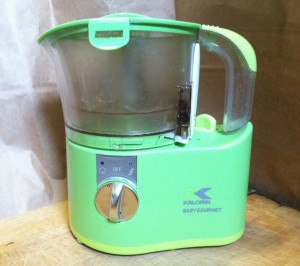
Thankfully, my sister knew better, and boldly went off-registry to get us the Kalorik Baby Gourmet 5 in 1 Baby Food Maker. It measures, it steams, it grinds, it mashes. In short, this is where the magic happens:

About 99% of the meals I make Niko are made with this compact machine. (We also have a hand mill that was handed down to us by one of Megan’s coworkers, and I have used the stove top steamer on occasion when I’m steaming a particularly large load of fruits and veggies.)

Why I love it:
Convenience — The measuring cup correlates water amount to steaming time, meaning the machine stops steaming when the water runs out, and I can do other things while the food steams without worrying about losing track of time.

Simplicity — There are only two settings to turn the dial: steam and grind.

Safe — the blade does not operate independently like with a blender. And the tank is made of BPA-free plastic.

Durability — This machine, though small, is a real work horse. I produce about a month’s worth of baby food each weekend (big baby = big appetite). I do worry about its longevity, since after only a few months of steady use,  the steaming basket is discolored and warped and there are some stress cracks in the food tank, but this machine is still running strong.

Why I don’t like it:
Clean-up — Food gets trapped in the steaming valve, which cannot be cleaned out. The steam obviously kills any bacteria, but it’s still gross to see.

Size — The food maker, honestly, is the right size for a few months only. One full batch is over 2 cups of food. This is fine for Niko now, through month 7, but as we head into month 8, and his appetite’s picking up (and he begins to rely more heavily on solids for nutrients), I anticipate him downing 3 cups of food a day. To keep up with his demand, and to over-produce, I know I’ll be bringing in my stove-top steamer and food processor to supplement the process. Without bringing in the big guns, I’d need to stand over this little machine all day long for 1 month’s worth of food.

The Storage System

I know I’m not the first person to freeze baby food. And I’m definitely not
the first person to use the following system, but I’ll share it again simply
because it works: Blend it, portion it, and stick it in the freezer.

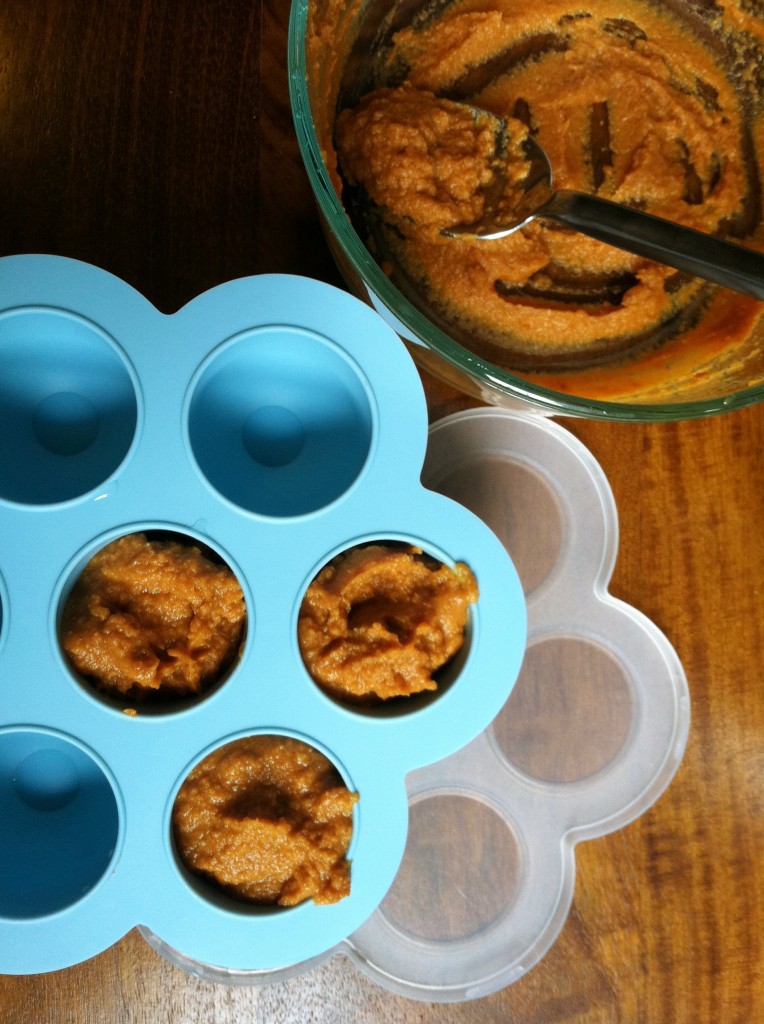
There are many brands of baby-food storage systems out on the
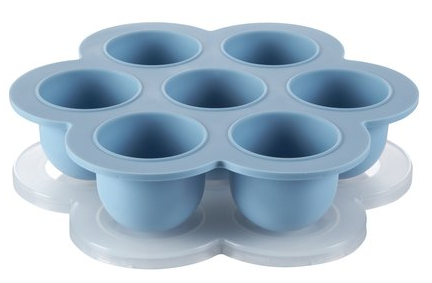
market. I happened upon the Beaba Multiportions silicone freezer
trays at a local baby store, and I really dig ’em. They remind me of
honeycombs, which further reminds me of: 1) how much l love to
eat honey, and 2) how I marvel at the perfect geometrical mastery
of nature’s tiny architects and engineers — the amazing honey bee!
But I digress…

The silicone material it’s made from makes this freezer tray flexible so
that the frozen baby food portions pop out easily.

Each pod holds 1/4 cup (2 oz) of food. There are 7 pods in the container
so you get about two cups, which is enough for one day for our
big boy at month 7.

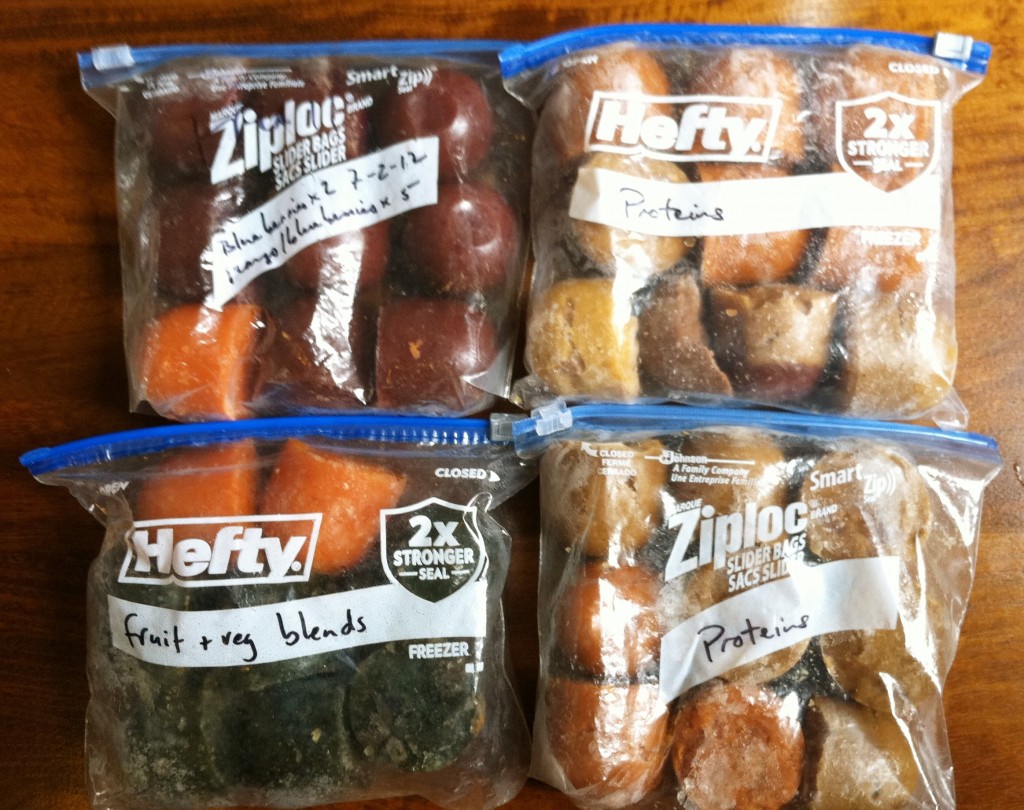
I have two trays, which I empty into zip-close freezer bags sorted by food
type (proteins, fruit and fruit blends, veggies and fruit/veggie blends).
Creating a stock enables me to combine a variety of foods so that Niko’s
meals throughout the day are well-balanced.